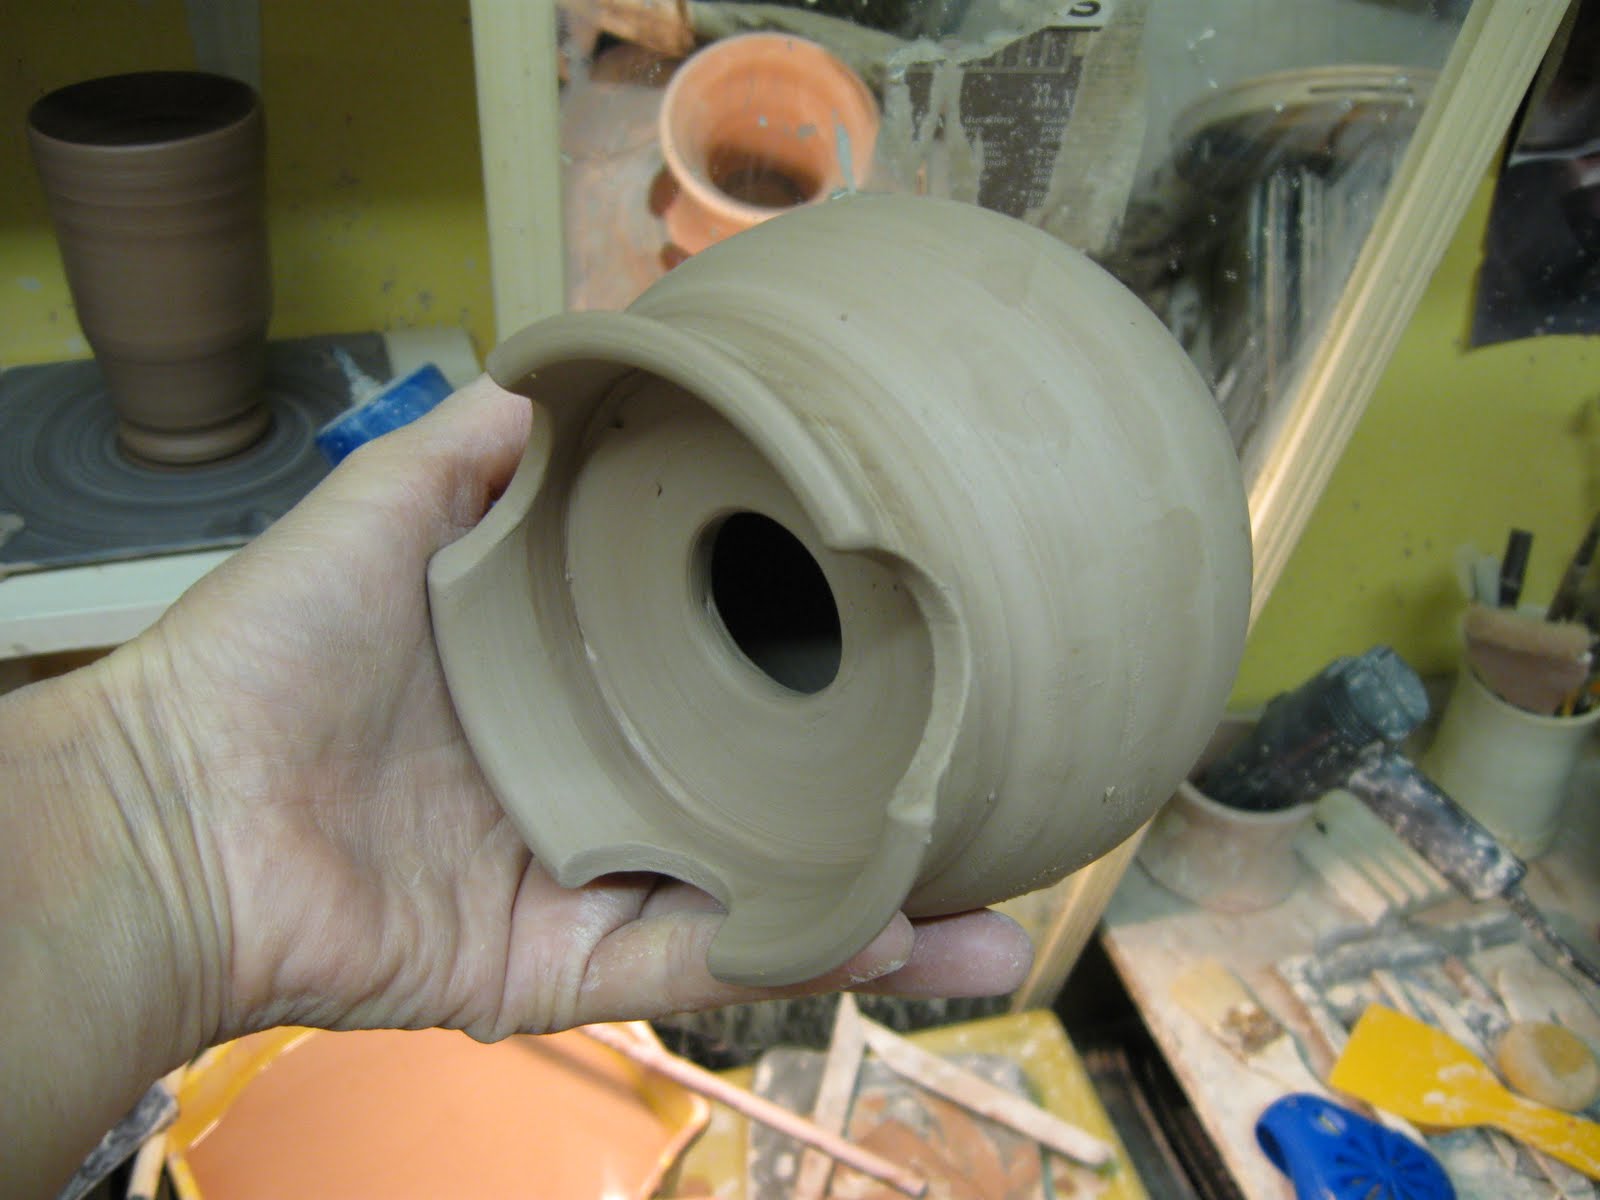
Here's part 2 of "Making Starry Nights Lamps."
After you've made the round form, trimmed it, made the hole for the snap-in socket, and put feet on it, it's time to carve the design.
I use templates, stencils, hole punchers, and cookie cutters, but you can also use your own design or cut out a free-hand design. Two things are important at this stage: (1) how wet your pot is and (2) the type of design.
I talked yesterday about (1). This is really important. If you start carving when the clay is too wet you can expect 3 types of problems: clumping of the crumbs, a deformed pot and trouble removing th

e carved out pieces because the clay will tend to stick together even after you've cut it. Ideally, your clay should be a good leather hard.
I start by sketching the design onto the form. You could start carving from the beginning, but I like to sketch in the design first so that I can better visualize it finished. At this point I am taking care not to leave too little space between cut-outs because those narrow

pieces of clay are the most likely to crack, deform or break off. Spirals and curlicues are particularly prone to these problems. However, it doesn't mean that I won't use such a design, just that I might not carve some sections all the way through. I also think about the size of the cut-outs and how it will look with a light bulb in it. I try to have a combination of large and small cut outs so that the light won't glare out of the lamp or the light bulb is too visible.
Once I'm happy with the desi

gn, I start carving with a scalpel, x-acto knife or other such sharp knife. I generally stick one finger through the socket hole and stab the scalpel down to my finger and use it as a guide while cutting. This minimizes cut "overruns" (but really hurts!). Pay attention to what the clay is doing, sometimes it's fine to slide the scalpel all the way around a design, other times it's best to move in an up-and-down motion all the way around the design. I find that this usually depends on how wet/dry the clay is and how intricate the design is. So, I'm likely to go carefully up and down around a spiral (because they break off so easily!), and just slide around the edges of a leaf.
Don't fuss with the crumbs and with refining the cut out areas. Once the piece is bone dry the crumbs can easily be removed by running a needle tool all around the cut-outs. Then shake the piece to get all the crumbs to fall out of the socket hole. I also sand the pieces when they are bone dry.

You can make these lamps as open cylinders as well and I'm experimenting now with covered oval, triangle, and square shapes... we'll see how those come out.
Have fun!


 Everyone seems to love yarn bowls!
 I like to the look of carved pieces and I enjoy carving through leather-hard clay, so I generally carve a more intricate design on the bowls and baskets than what is strictly necessary to serve the function of a yarn bowl. I think that this design element opens the bowls and baskets up to many more uses, making them an item of decoration for the home if used, for example, with pebbles or sea glass on the bottom to hold a candle. They can also be used as candy dishes or to hold jewelry or keys.
 This past weekend was my brother's wedding. The ceremony was held at Overlook Farms in Clarksville, Missouri, overlooking the Mississippi River. The site--with its view of Old Man River, hills, pecan and walnut trees--was a romantic's dreamscape. The ceremony included readings of several poems, including e.e. cumming's I Carry Your Heart. But the most inspiring poem (which elicited a loud laugh from my 8-year old grandson) was Li-Young Lee's From Blossoms.
 tting my grandson to bed one night and had just turned off the lights when I saw the glow-in-the-dark planets and moons and stars that his Dad had pasted on the ceiling of his room. That's where the idea of making a lamp with a moon and stars came from. But how about having it project on the ceiling?
 e carved out pieces because the clay will tend to stick together even after you've cut it. Ideally, your clay should be a good leather hard.
 pieces of clay are the most likely to crack, deform or break off. Spirals and curlicues are particularly prone to these problems. However, it doesn't mean that I won't use such a design, just that I might not carve some sections all the way through. I also think about the size of the cut-outs and how it will look with a light bulb in it. I try to have a combination of large and small cut outs so that the light won't glare out of the lamp or the light bulb is too visible.
 gn, I start carving with a scalpel, x-acto knife or other such sharp knife. I generally stick one finger through the socket hole and stab the scalpel down to my finger and use it as a guide while cutting. This minimizes cut "overruns" (but really hurts!). Pay attention to what the clay is doing, sometimes it's fine to slide the scalpel all the way around a design, other times it's best to move in an up-and-down motion all the way around the design. I find that this usually depends on how wet/dry the clay is and how intricate the design is. So, I'm likely to go carefully up and down around a spiral (because they break off so easily!), and just slide around the edges of a leaf.
 The Starry Nights Lamps have been my best sellers. I recently sold my last 3 in one week and had to put aside other projects to make some more lamps. So I thought I'd show you how I make
  Before taking it off the wheel, I use a metal rib to smooth the surface and an edger to remove some of the excess clay at the bottom. I run the wire under them but don't take them off the bat until they can be handled without distorting. At this point, it's a good idea to poke a small hole somewhere with a needle tool.