 The Starry Nights Lamps have been my best sellers. I recently sold my last 3 in one week and had to put aside other projects to make some more lamps. So I thought I'd show you how I make
them.
I start out with about 1.5 lbs of clay and throw a closed form.
 Before taking it off the wheel, I use a metal rib to smooth the surface and an edger to remove some of the excess clay at the bottom. I run the wire under them but don't take them off the bat until they can be handled without distorting. At this point, it's a good idea to poke a small hole somewhere with a needle tool.
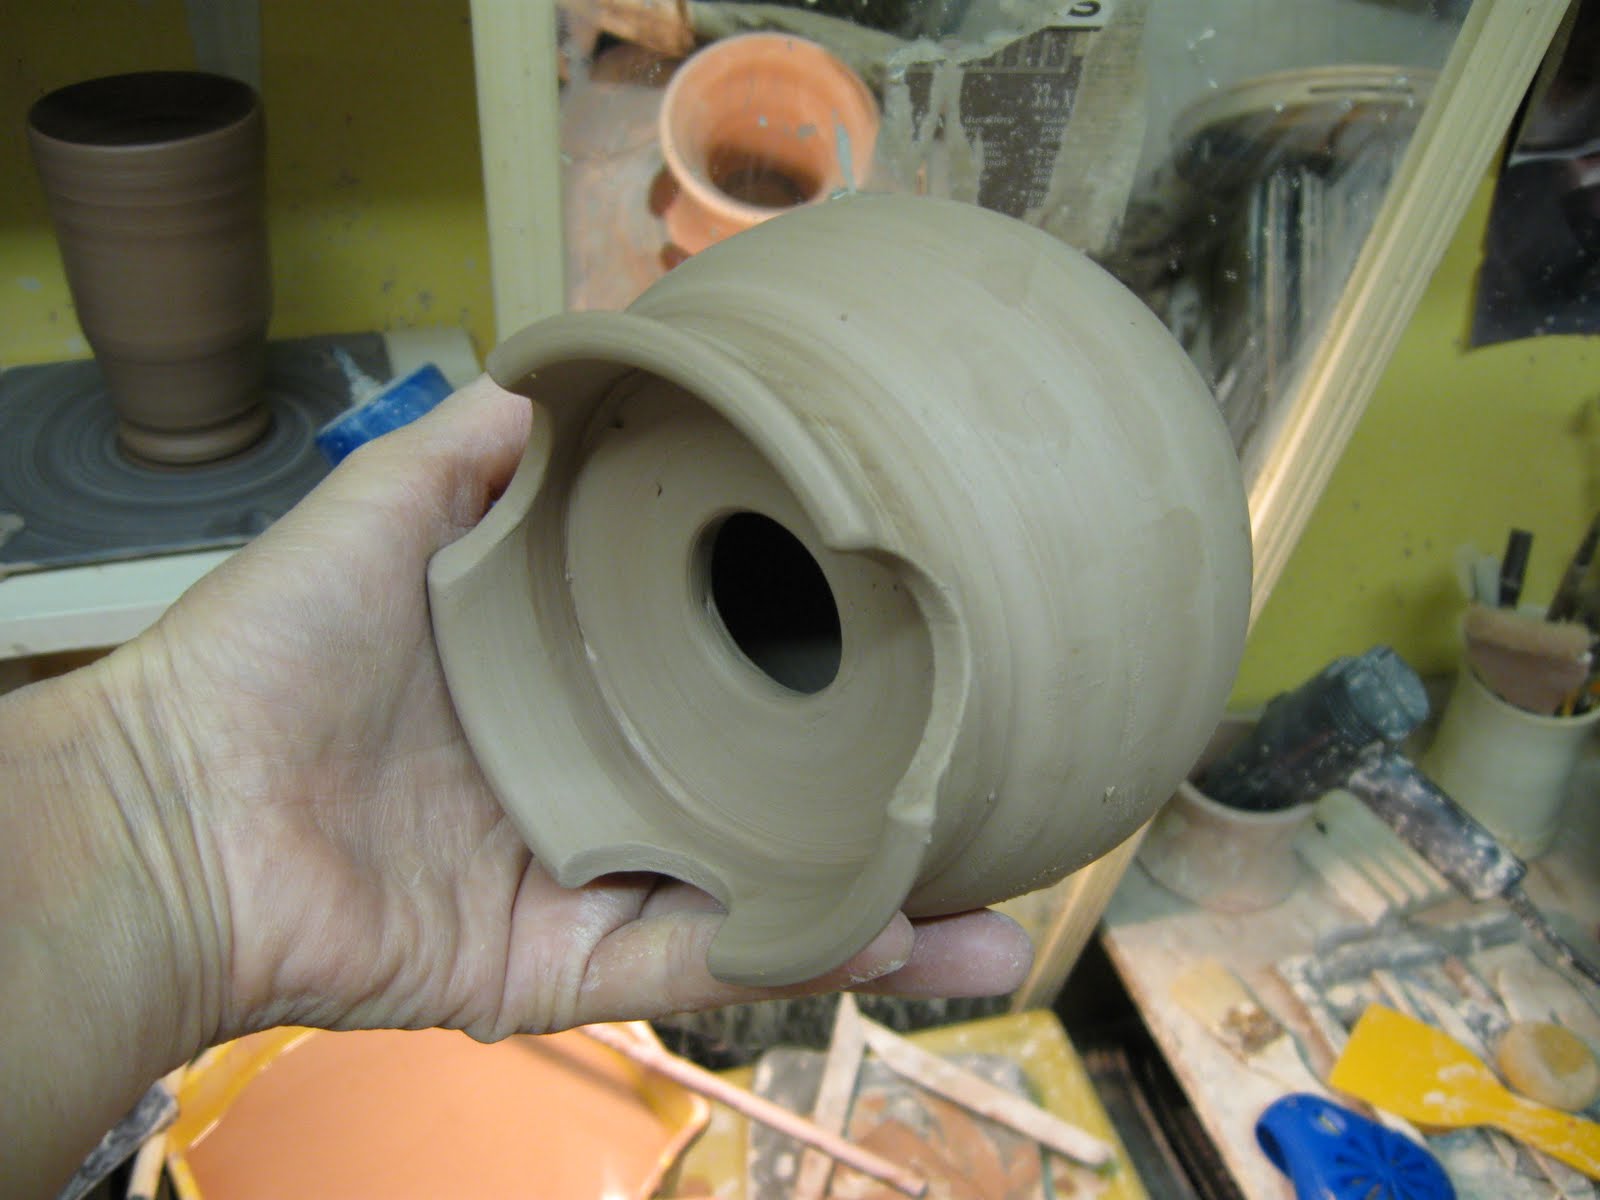
Once it is dry enough to trim, I refine the form and make a hole in the bottom for the snap-in socket. I have a small cookie cutter that is the right size and I've marked it "Lamp Socket" so I know which one to use every time. The hole is about an inch in diameter.

Unless you are going to trim and then move immediately to cutting out the design, it's best to trim the forms a bit wetter than usual. The reason is that it takes a while to cut out the design (the starry nights lamps take the best part of an hour) and the pot is drying as you're doing this (more or less rapidly depending on ambient humidity). You don't want the pot to be too wet when cutting because the clay crumbs will clump and also the form can collapse. But you don't want to do it too dry because you run the risk of cracking. So, ideally, you should be cutting the design at the pliable leather hard stage.
The next step is to add the feet. Feet are necessary because you need a space for the cord. The height of the feet is a matter of your own aesthetics. Sometimes I throw a ring and add it to the bottom, cutting out a notch for the cord. Other times I add small lumps.
Tomorrow: Cutting out the design!


No comments:
Post a Comment