|
| 1. Canvas Wedging Board |
While most studios have plaster wedging tables, I've found it much better to wedge my clay on canvas. I like canvas because it won't gouge or crack and also because it dries the clay up a bit as I'm wedging. The latter is important because, to protect my wrists, I throw with very soft clay.
 |
| 2. Stapling the canvas to the board |
In addition, a canvas wedging area can be set up quickly and easily and lasts a long time. I made mine in 1999 when I built my studio. Eleven years later, the canvas was getting a bit threadbare so I decided to redo it today. With my husband's help, it took all of 30 minutes! Here's the quick and easy way to make a long-lasting wedging board.
 |
| 3. Cutting off excess canvas |
I started with a piece of wood about an inch thick. The dimensions of the piece of wood are only restricted by the area available to you for the wedging board. Mine is about 2.5 x 2 feet. Simply staple marine canvas to the board making sure that you pull it very tightly (fig. 2). I put canvas on both sides of the board and use one side for dark clay and the other for white clay. After stapling the canvas and cutting off the excess (fig. 3) I cover the edges with duct tape (see fig. 1).
I attach the wedging board to a a sturdy table with vise grips. I've placed bricks under the table's front legs. This puts the table at a slight angle away from me, which makes the wedging motion easier (see fig. 1).
 |
| 4. Ware boards made out of wallboard |
I also use pieces of wallboard as ware boards. Simply cut a piece into as many different sizes as you need and duct tape the edges so they won't crumble (fig. 4). You can also use one side for dark clay and other for white clay.
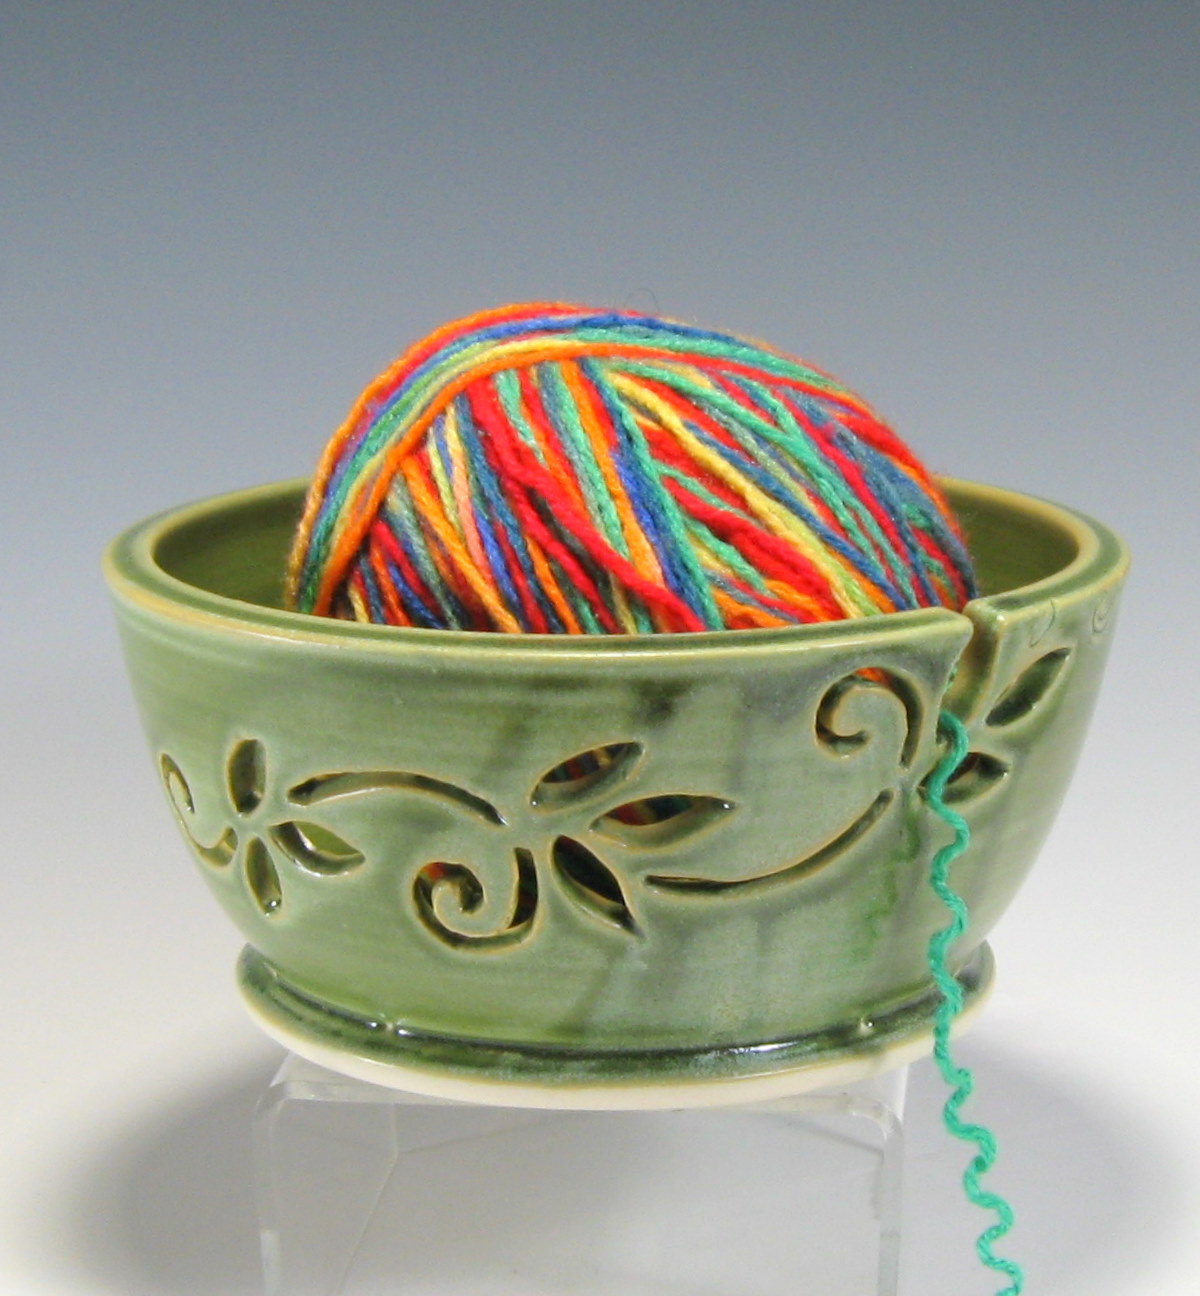
 It's that time of year... I am fascinated by the leaves. Just driving to the grocery store is like going into a wonderland of color. I love the leaves in the spring too... all the myriad shades of green as the light-colored shoots turn into dark green summer leaves. All of life in a small leaf: from the tiny shoot, to the nurturing leaf that helps provide energy for the plant, to the splendor at the end of the season.
 I want to draw leaves, paint leaves, make clay leaves... but I've always tried to resist that urge because there is so much leaf imagery in pottery and elsewhere. Nevertheless, I've decided to take a few tentative steps. I've carved leaves on my lamps, I've drawn some leaves on a few bowls and brie bakers... I think I may look into this a bit more in the future! For now, I made a treasury that I hope you'll visit.